Weaving a Copper and Violet Cushion Cover

My September’s commission is to make a cushion cover with the same colours as my client’ s wall hanging.
It has shades of copper and violet. My client and I agreed on the colours nearest to the one of the wall hanging and I suggested a Log Cabin weaving pattern because it will match with some of the pattern on the wall hanging.
The first step is to put the yarn on the Warping board.
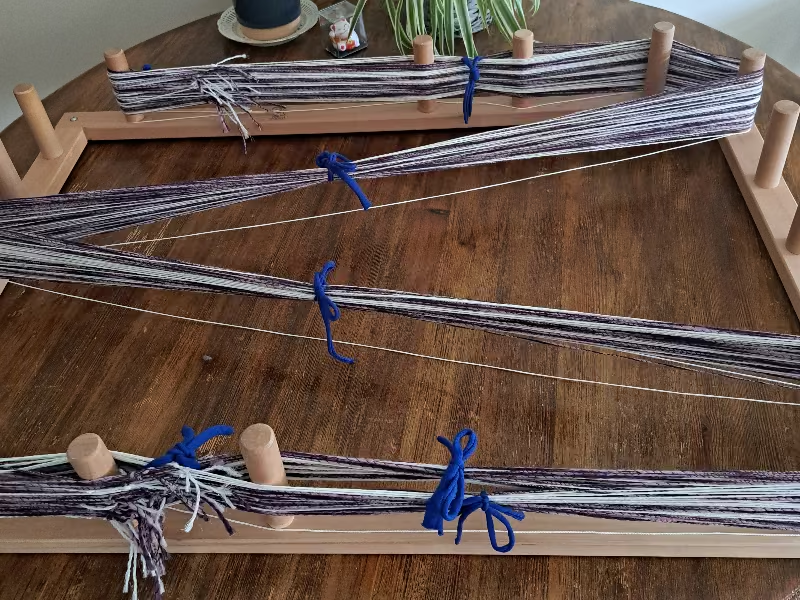
The cushion is 21” X 21”. If I make a width of 12” and double it, I will have a 24” wide material to make the cushion cover.
When the warping is done, I tie up the warp in different places, as on the photo, so I can remove it safely from the warping board and place it on the loom.
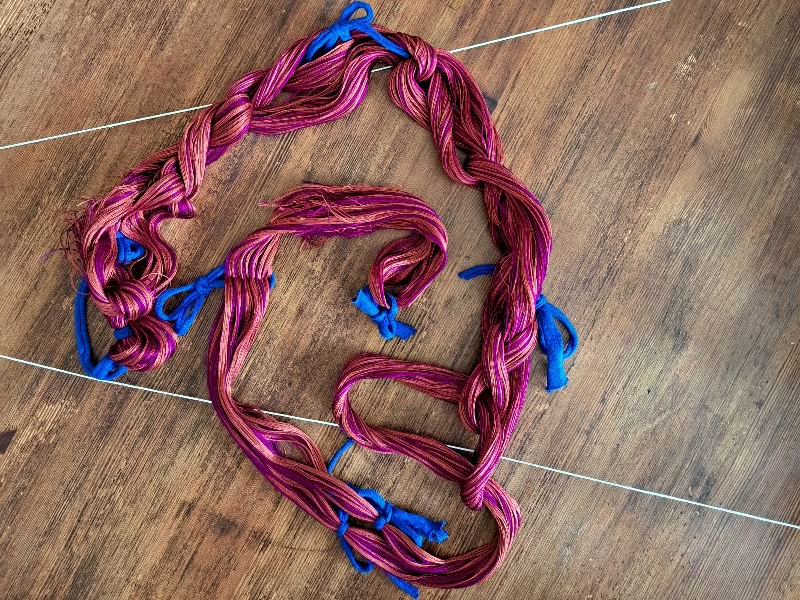
Before I start anything, I attach the Raddle to the loom. The Raddle is a very important tool to make sure that the warp is set up at regular spaces.
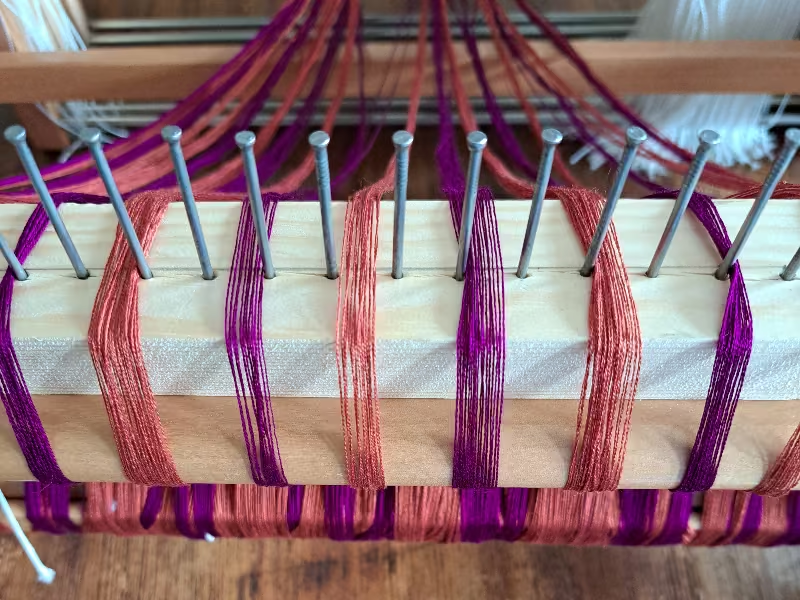
When I first started, I “forgot” to use the Raddle. What a mess! The tension was different in the middle of the loom compared to the sides. The pattern was completely distorted and I had to undo the whole setting up. Which was a very good lesson for me. I Never forgot about it, ever again.
The next step is to put the yarn through the heddles. I count the same amount of heddles on each side and start from the middle, so I get an even spread on each side.
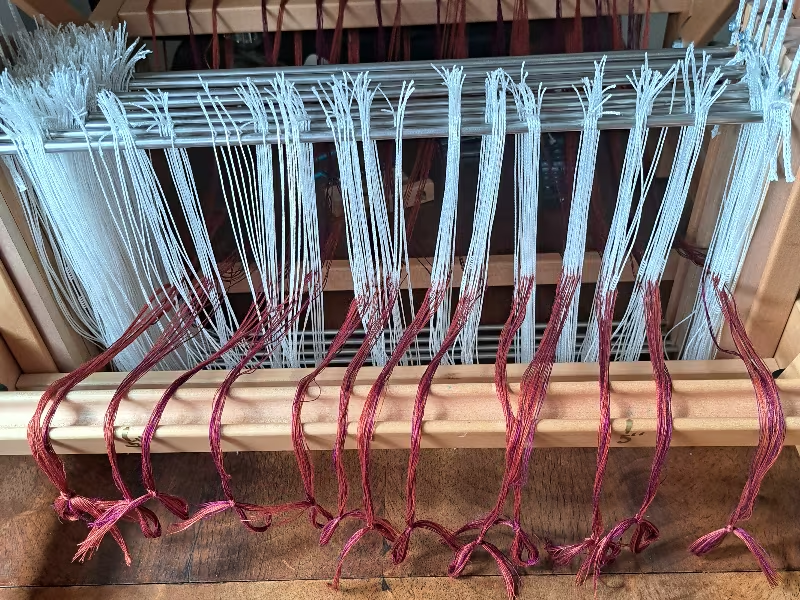
The next step is to put the yarn from the heddles through the reeds. I use a hook to pass the yarn through the heddles. The pattern is 2-1 – 2-1 so I need to make sure that I have enough heddles for the yarn.
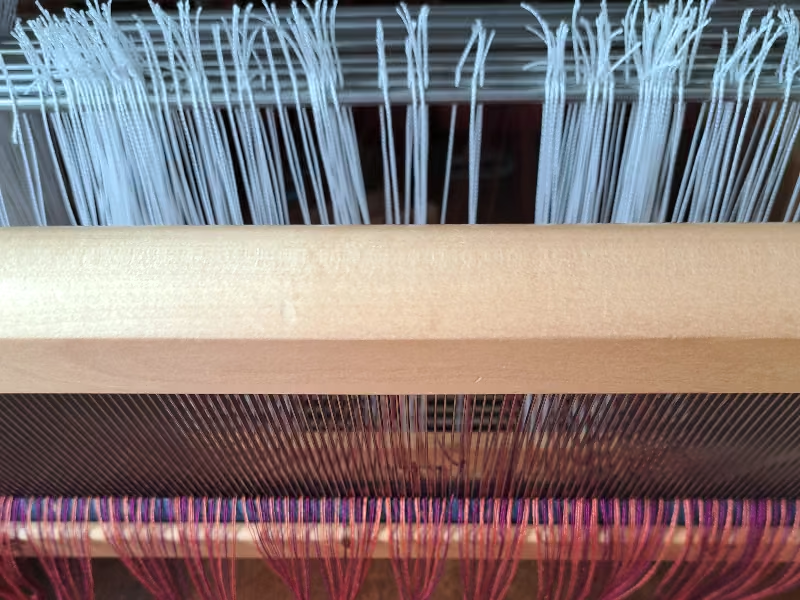
Then, I can start weaving.
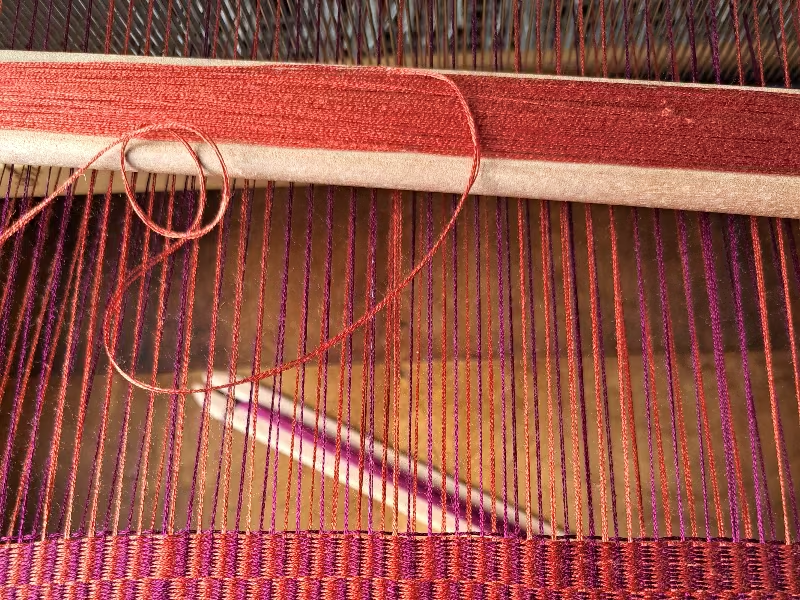
I love seeing the pattern develop until the finished project is off the loom.
I always feel very grateful to be able to express myself in this way and enjoy the meditative and ritualistic rhythm of weaving.
Sometimes I amaze myself and sometimes I look for my shuttle while I am holding it.
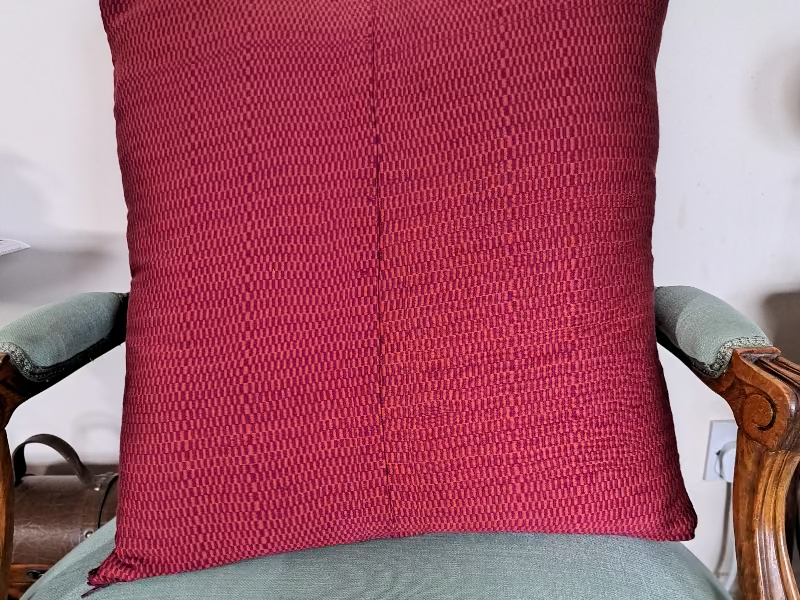
I hope you enjoy my creations as much as I love bringing them to life.